Cloud storage has become a vital part of our digital lives, offering a convenient way to store, access, and share files across multiple devices. However, like any storage system, it can get cluttered over time. This clutter can lead to slow performance, difficulty finding files, and even increased costs if you exceed your storage limit.
That's where the importance of clearing cloud storage comes in. Regular maintenance of your cloud storage can help you optimize space, improve efficiency, and save money. Maybe you even received a notification that you have maxed out your storage, and need to clear up some space.
Whatever the reason, in this article, we will guide you through the process of clearing your cloud storage the easy way. We will provide step-by-step instructions, tips, and insights to help you manage your digital space effectively. We'll also introduce IFTTT, our free automation service, as your newest solution to keeping your cloud storage clean, forever.
So, let's dive in and learn how to keep your cloud storage clean and organized.
Why cleaning cloud storage is necessary

Cloud storage is a service model where data is stored on remote servers. Household names in this industry include Google Drive, Dropbox, iCloud, Amazon Drive, and more. These servers are maintained, managed, and operated by cloud storage providers, allowing users to access their data over the internet, from any device and location.
The convenience and flexibility of cloud storage have made it a popular choice for both individuals and businesses. However, as with any storage system, it can become cluttered and disorganized over time. Although it may seem like magic, there simply isn't an unlimited amount of cloud space for users to take advantage of. Each file you upload to the cloud is stored in a server somewhere, meaning that eventually companies will run out of room (hence the premium costs for cloud storage).
For you personally, clearing cloud storage is necessary for several reasons:
- To optimize storage space and avoid exceeding storage limits
- To improve the performance and speed of accessing files
- To make it easier to find and manage files
- To potentially save money by avoiding the need for additional storage
Signs you need to clear your cloud storage
Recognizing when to clear your cloud storage is crucial. One clear sign is when you receive notifications that you're nearing or have exceeded your storage limit. This is a clear indication that it's time to review and clean up your files.
Another sign is slow performance. If your files are taking longer than usual to upload or download, it could be due to a cluttered cloud storage. Clearing out unnecessary files can help improve performance.
Finally, if you're having difficulty finding files or navigating your cloud storage, it's a good indication that some cleaning up is needed. A well-organized cloud storage should make it easy to locate and manage your files.
Preparing to clear your cloud storage

Before you start the process of clearing your cloud storage, it's important to prepare. This preparation phase ensures that you don't accidentally delete important files and that you have a clear plan of action. Some services offer recently deleted folders and other safeguards in case you delete a file, but not all.
One of the most important steps before clearing your cloud storage is to back up important data. This is a safety measure to prevent accidental loss of crucial files. Pick the files you know you cannot live without, such as passkeys or business and law documents, and back those up. You can back up your data to another cloud service, an external hard drive, or a local storage device. The choice depends on your preferences, the amount of data, and the resources available to you.
Next, identifying what to delete is a crucial step in clearing your cloud storage. Start by looking for large files that take up a lot of space. These could be high-resolution photos, videos, or large documents. Look for old files that you no longer need. These could be outdated versions of documents, old presentations, or files from completed projects.
Also consider getting rid of software and applications that you no longer use, although be cautious to save any important projects or files from within these applications before wiping them off your computer.
Step-by-step guide to clearing cloud storage
Now that you've prepared for the clearing process, it's time to get started. Every service has a slightly different process to accessing and deleting files, but they all follow the same steps.
Remember, the goal is to free up space without losing important data. So, take your time and be thorough in your review of each file.
Accessing your cloud storage

The first step in clearing your cloud storage is to access your account. This process will vary depending on the cloud service you use.
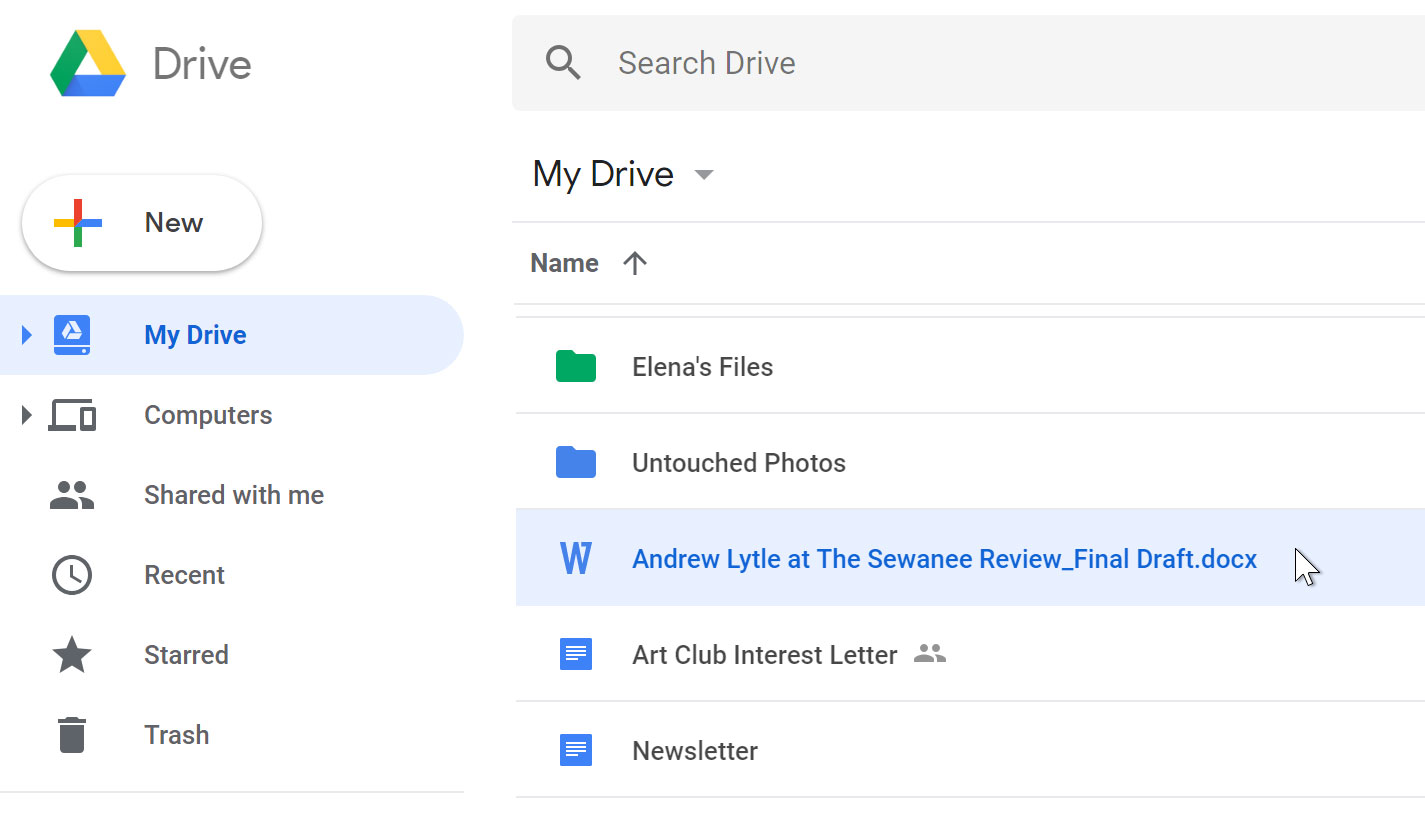
For example, if you're using Google Drive, you can access your storage by signing into your Google account and clicking on "Drive". If you're using Dropbox, you can access your storage by logging into your Dropbox account and clicking on "All files". Regardless of your provider, you will have to log in to your account.
Remember to check all folders, including shared folders and trash or recycle bin. These areas often contain files that are forgotten but still take up space.
Sorting and selecting files

Once you've accessed your cloud storage, the next step is to sort and select the files you want to delete. Most cloud storage services allow you to sort files by size, type, or date.
Here are some tips for sorting and selecting files:
- Sort by size: This allows you to identify the largest files that are taking up the most space.
- Sort by type: This can help you find specific types of files, such as videos or images, that tend to be larger.
- Sort by date: This can help you find older files that you may no longer need.
On most platforms, you can use CRTL-Shift to select a group of files, or CRTL-Alt to select specific files out of a group.
Deleting unnecessary files

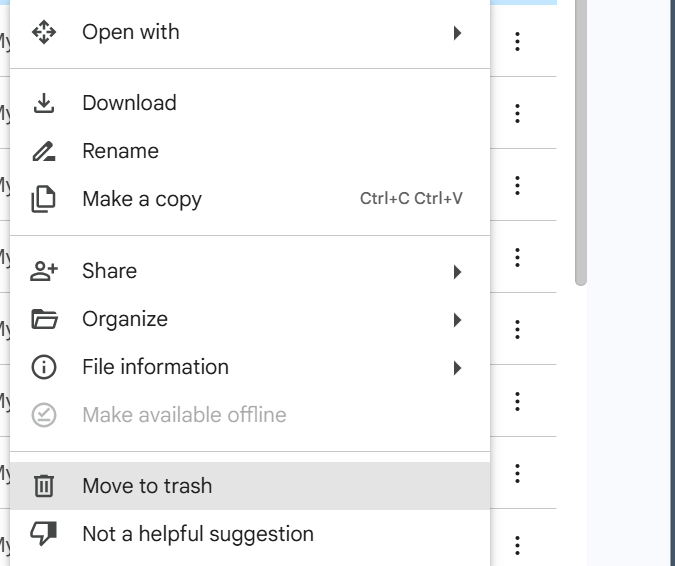
After sorting and selecting the files, the next step is to delete them. Be careful during this step to avoid accidentally deleting important files. There will often be a trash can icon, or the world "delete" that indicates where you should click. In Google Drive, for example, the trash is labeled "Move to trash."
Most cloud storage services move deleted files to a trash or recycle bin for a set amount of time before it disappears. This means that if you accidentally delete a file, you can usually recover it. However, to free up space, you'll need to permanently delete the files from the trash or recycle bin. This action cannot be undone, so double-check that you don't need the files before deleting them permanently.
Third-party apps to clean storage
Third-party apps and services can be a valuable tool for managing your cloud storage, and can help you identify large files, find duplicates, and automate the cleaning process.
Here are a few free third-party apps that can help you optimize your cloud storage:
- CleanMyMac: This app helps you manage your storage on Mac. It can help you find and delete unnecessary files.
- Duplicate Cleaner: This app can help you find and delete duplicate files in your cloud storage.
- Avast Cleanup: This trusted app allows you to manage multiple cloud storage services from one place.
All of the aforementioned apps are safe and trusted by thousands, but make sure to do research before investing in any third-party application.
Cleaner storage with IFTTT

Looking for a better way to manage your files while they traverse throughout the cloud? Look no further than IFTTT, (If This Then That), our free web-based service and mobile app designed to boost productivity by automating tasks. It works by creating connections between over 1000 popular apps and services, allowing them to work together seamlessly.
The basic idea behind IFTTT is to create "applets" or sets of instructions that trigger when certain conditions are met. This can be turning on the lights automatically when you enter your house, for example. It could be syncing your Dropbox files, uploading photos when shared on social media, or even clearing junk from your storage without you pressing a button.
Founded in 2011, IFTTT has been used by over 25 million individuals to automate both business and home tasks, saving time and increasing efficiency. It's commonly used to connect disparate services and systems, making all products and services work well together in a way that instills user confidence. Best of all, it's free and only takes a couple of minutes to set up.
Join IFTTT today for free and see for yourself why we are the most trusted automation platform by professionals and amateurs worldwide.
Top cloud storage applets with IFTTT

Automatically back up your new iOS photos to Google Drive
Archive all your new iOS Photos to a folder on Google Drive. Never lose a pic again!
Sync your iCloud photos to Onedrive automatically, so you can free up space on your phone or Apple computer. You can also rest assured knowing your files are backed up in two clouds.
Save photos you're tagged in on Facebook to a Dropbox folder
No more scrolling through friends' feeds and albums to find those great pics. This applet will automatically upload new Facebook photos that you're tagged in to a Dropbox folder.
To enable these applets and millions more (yes, millions), try IFTTT today for free!


