Anyone who has dealt with the iOS-Android-Google ecosystem knows that managing contacts across multiple devices can be a challenge. This is especially true if you're an iPhone user who relies heavily on Google services. Additionally, many Google users have found themselves lost on how to import Google Contacts to iPhone after switching to Apple.
The solution? Integrating Google Contacts with your iPhone Contacts. As of 2024, Apple does offer a feature on iPhones that makes it easy to transfer contacts between the two. However, another great solution is syncing contacts using IFTTT. Not only does this process allow you to share contacts between two or more devices, but it will automatically keep these lists updated when you add or remove contacts.
Additionally, IFTTT's integrations can unlock all sorts of other helpful tools, such as saving caller info, forwarding contacts to sales platforms, or logging contacts into a spreadsheet
In this article, we will go over both the native Apple contact transfer and how to set up a contact transfer with IFTTT. Whether you're tech-savvy or a beginner, you'll find this guide easy to follow and implement. So, let's dive in and explore the world of seamless contact management.
Why you should sync your contacts
Syncing your contacts isn’t just a convenience—it’s a necessity in today’s connected world. Here are a few reasons why keeping your Google Contacts in sync with your iPhone Contacts is essential:
1. Unified access across devices
When you sync your contacts, you eliminate the hassle of manually updating or transferring contact information every time you switch devices. Whether you're using an iPhone, iPad, or even a MacBook, all your contacts will be up-to-date and ready to use.
2. Avoid losing important information
Nothing is worse than losing your contacts due to a device reset or accidental deletion. Syncing ensures your contacts are stored in a cloud service, like Google, where they can be easily recovered or accessed from any device.
3. Save Time and Stay Organized
Having a single source of truth for your contacts saves you time. You won’t need to sort through duplicates, manually add new contacts to multiple accounts, or figure out which version is the most up-to-date.
4. Automate updates across platforms
For those with a foot in both the Apple and Google ecosystems, syncing prevents the frustration of maintaining separate lists. Update a contact on your iPhone, and the change will automatically reflect in Google Contacts—and vice versa.
5. Unlock additional features with IFTTT
With automation tools like IFTTT, syncing your contacts can do more than just ensure consistency. You can:
- Automatically log new contacts into a Google Sheet for record-keeping.
- Share new contacts directly with team members or family.
- Sync contacts with customer relationship management (CRM) platforms like Salesforce.
Syncing contacts: The IOS method
Before we take a look at the IOS method, you'll have to first make sure you have the following:
Google account: Active account with access to Google Contacts. iPhone: Device should be running on a recent iOS version. Internet connection: Reliable connection for seamless syncing.
With these prerequisites met, you’re ready to start syncing your Google Contacts with your iPhone.
1. Add Your Google Account to Your iPhone

- Open the Settings app on your iPhone.
- Scroll down and tap on Contacts
- Select Accounts, then tap Add Account.
- Choose Google from the list of account types.
- Enter your Google email and password, then tap Next to sign in.
2. Enable Contact Syncing
Once your Google account is added, you’ll see various options for syncing. Toggle the Contacts switch to enable syncing. Tap Save to finalize the setup.
3. Confirm Contact Syncing
Open the Contacts app on your iPhone. Scroll through the list to check if your Google Contacts have been synced successfully.
4. Set Google as the Default Contacts Account (Optional)
To ensure new contacts you add on your iPhone are saved to Google Contacts: - Go to Settings > Contacts. - Tap Default Account. - Select Google from the list.
Syncing Contacts: The IFTTT Method
For an even quicker solution to transfer contacts, many turn to IFTTT. In a couple of clicks, you can Syncing Contacts: The IFTTT Method.
For an even quicker and more versatile way to sync contacts, you can use IFTTT (If This Then That). Our automation tool connects over 1000 different services and devices, allowing you to create "Applets" that perform specific actions. With IFTTT, you can set up seamless contact syncing between Google Contacts and iPhone Contacts—and even unlock additional functionality.
Here’s how to get started:
1. Set up an IFTTT account
- Visit IFTTT.com or download the IFTTT app from the App Store.
- Sign up for a free account, or log in if you already have one.
2. Search for contact sync Applets
In the IFTTT interface, use the search bar to look for applets related to syncing contacts (e.g., "Google Contacts to iOS Contacts"). Explore pre-built applets or create your own for more customization.
3. Connect your Google account
- Select an applet for syncing Google Contacts.
- Authorize IFTTT to access your Google account.
- Ensure permission is granted to read and write contacts.
4. Connect your iPhone Contacts
Similarly, connect your iPhone Contacts app to IFTTT. Then, authorize the necessary permissions for syncing contacts.
Boom, you're all set up! With an IFTTT account, you gain access to millions of automations pre built by users just like you, as well as our Applet builder which gives you the tools to create your own automations.
-
Sync new iOS Contacts to Google Contacts
-
Add new iOS Contacts to Google Sheets automatically
-
Save new iOS Contacts to Dropbox as text files
-
Save new iOS Contacts to your Google Contacts
Why choose IFTTT?

IFTTT, available as both a free web-based service and mobile app, works by creating connections between over 1000 popular apps and services, allowing them to work together seamlessly. This includes Apple and Google Contacts, meaning it only takes a few clicks to revolutionize the way you communicate.
The basic idea behind IFTTT is to create "Applets" or sets of instructions that trigger when certain conditions are met. This can be turning on the lights automatically when you enter your house, for example.
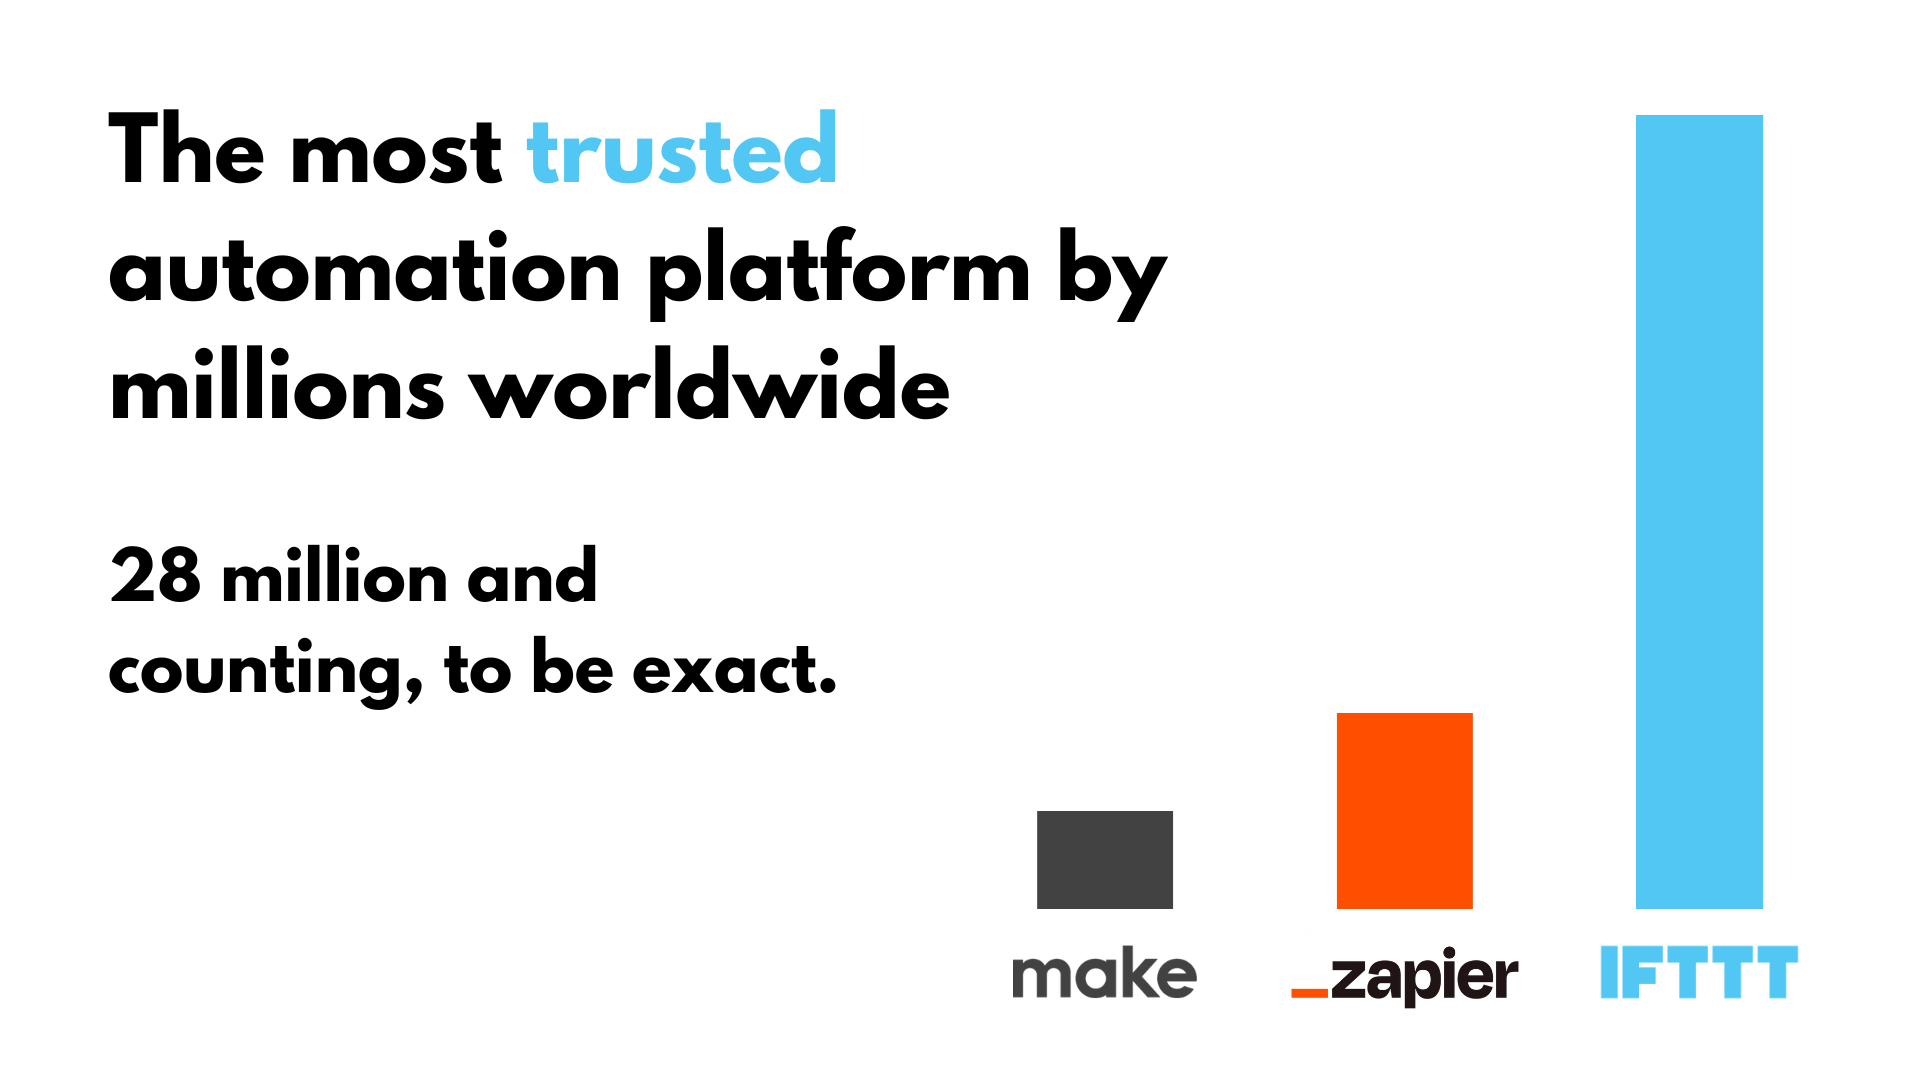
Founded in 2011, IFTTT has since been used by over 30 million individuals around the globe to automate both business and home tasks, saving time and increasing efficiency. It's commonly used to connect disparate services and systems, making all products and services work well together in a way that instills user confidence. Best of all, it's free and only takes a couple of minutes to set up.
How to set up an Applet with IFTTT

Setting up an Applet with IFTTT is a straightforward and user-friendly process. For most users, it only takes a couple of minutes. If you need help, feel free to reach out to our support team at any time. Below are the steps to guide you to making your first Applet:
Create an IFTTT Account: If you don't have an account, head to IFTTT.com and sign up for free. You can use your Google, Apple, or Facebook account to register, or use your email address.
Browse our list of Applets: Head to the Applets tab in IFTTT and search through our library for an Applet that works for you. Don't worry, we have over 1 million Applets for you to choose from. You can also create your own with our 'if this, then that' Applet editor.
Connect your accounts: Once you find an Applet that fits your needs, connect all of the accounts related to the Applet (e.g. Google Calendar, Apple Calendar, Twitter).
Activate the Applet: To start your new Applet, simply click 'Activate' and the Applet will automatically begin running in the background.
Building your own Applet: Can't find exactly what your looking for? On IFTTT, you can also build your own Applets and share them with the community. Simply click the 'Create' button, select a trigger action (e.g. When I check-in to a location) and an output action (e.g Add event to Google Calendar).
IFTTT is designed to make automation easy for everyone. Regardless of technical experience, setting up an IFTTT Applet with your calendar of choice only takes a few minutes. Remember, you can always go back and edit or disable your Applets if you need to in the future.
So what are you waiting for? Sign up for free today and see why IFTTT is the number one trusted automations service by millions.


